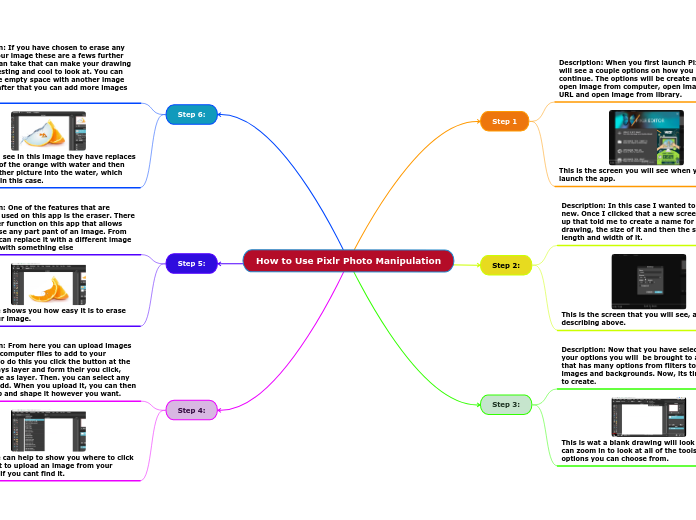
How to Use Pixlr Photo Manipulation
Step 6:
Description: If you have chosen to erase any parts of your image these are a fews further steps you an take that can make your drawing very interesting and cool to look at. You can replace the empty space with another image and even after that you can add more images into it.
As you can see in this image they have replaces the inside of the orange with water and then added another picture into the water, which was a fish in this case.
Step 5:
Description: One of the features that are commonly used on this app is the eraser. There is an eraser function on this app that allows you to erase any part pant of an image. From there you can replace it with a different image or fill it in with something else
This image shows you how easy it is to erase part of your image.
Step 1
Description: When you first launch Pixlr you will see a couple options on how you can continue. The options will be create new image, open image from computer, open image from a URL and open image from library.
This is the screen you will see when you first launch the app.
Step 2:
Description: In this case I wanted to create new. Once I clicked that a new screen popped up that told me to create a name for my drawing, the size of it and then the specific length and width of it.
This is the screen that you will see, as I was describing above.
Step 3:
Description: Now that you have selected all of your options you will be brought to a screen that has many options from filters to fonts to images and backgrounds. Now, its time for you to create.
This is wat a blank drawing will look like, you can zoom in to look at all of the tools and options you can choose from.
Step 4:
Description: From here you can upload images from your computer files to add to your drawing. To do this you click the button at the top that says layer and form their you click, open image as layer. Then. you can select any image to add. When you upload it, you can then move, crop and shape it however you want.
This image can help to show you where to click if you want to upload an image from your computer, if you cant find it.
